Set up the calendar
Configure timezone, hours, services, and resources so your bot can offer real bookings instead of just collecting requests.
Use this guide when your bot should hand customers an actual time slot — appointments, reservations, classes, or any scheduled service.
Open CalendarEnable the calendar and set the basics
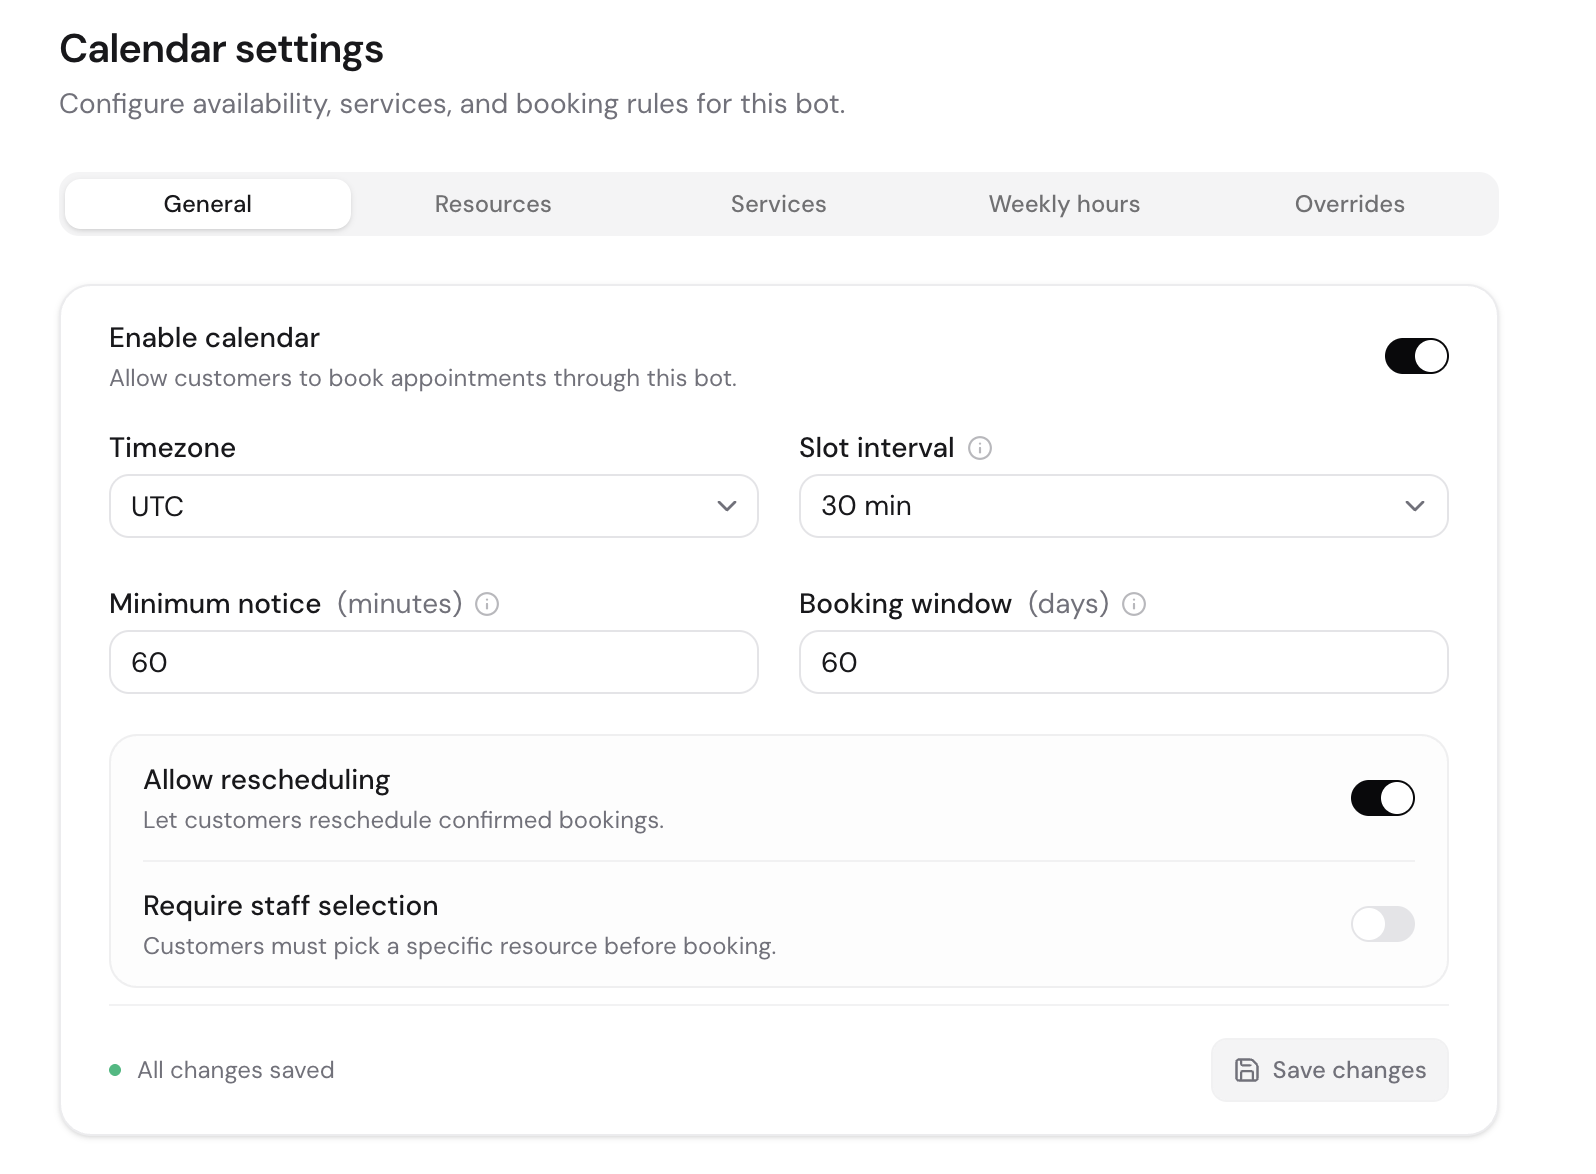
Calendar settings live per bot at Bots → Settings → Calendar, or directly under Calendar settings on the calendar view. Open the General tab first to turn the calendar on and lock in the rules every other tab depends on.
- Enable calendar — turn this on before your booking flow can serve real availability.
- Timezone — defines how weekly hours, overrides, and slots are interpreted.
- Slot interval — how often booking slots start (15, 20, 30, 45, 60, 90, or 120 minutes).
- Minimum notice — how far ahead a booking must be made, in minutes. Use this to block last-minute requests.
- Booking window — how many days into the future customers can book.
- Allow rescheduling — let customers move a confirmed booking instead of cancelling and rebooking.
- Require staff selection — force the customer to pick a specific resource before they can book.
Disabling calendar pauses bookings
If your flow already has booking nodes wired up, turning the calendar off stops them from working until you re-enable it. The dialog will warn you before saving.
Add resources and services
Resources are the things you book against — staff, rooms, chairs, vehicles. Services are what the customer is booking — a haircut, a consultation, a class. Each booking is one service against one resource.
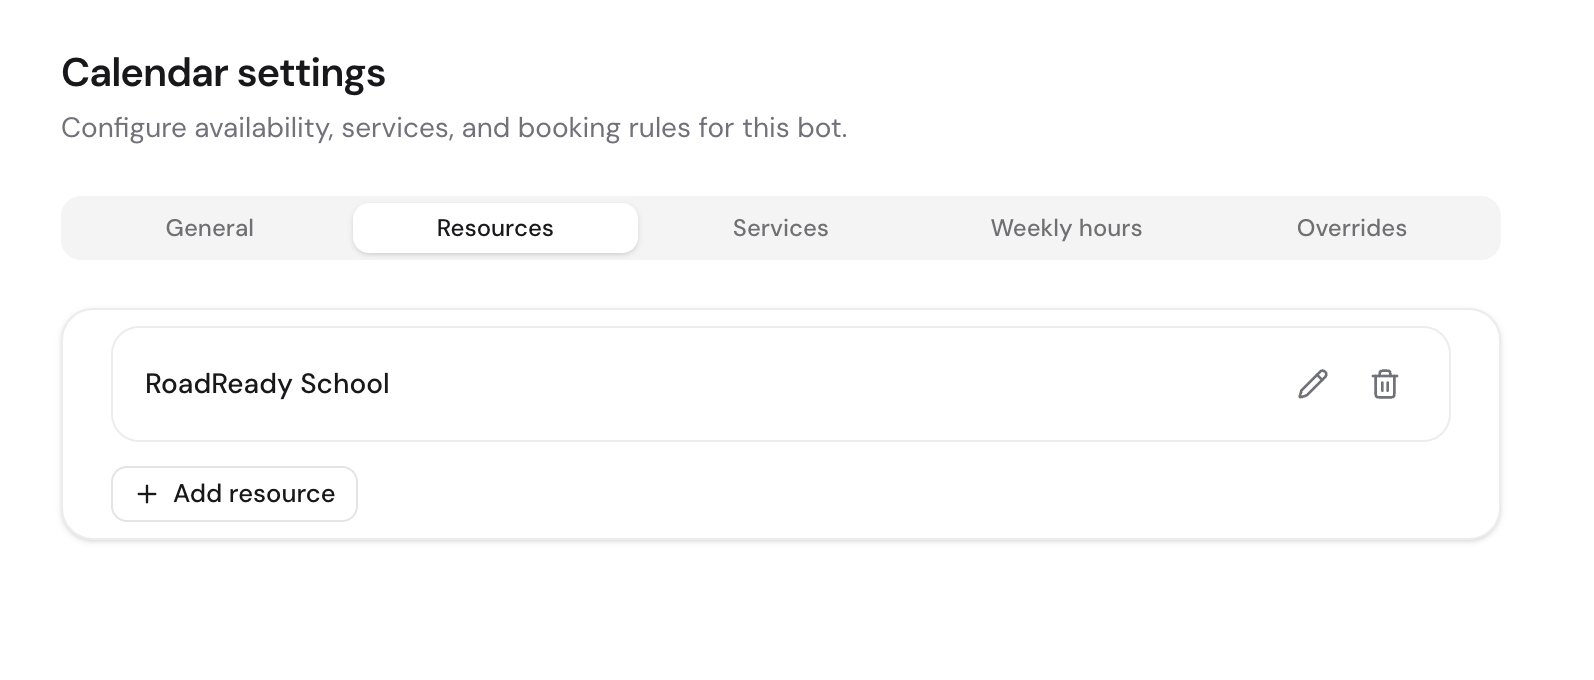
Create resources first
On the Resources tab, add each bookable entity with a name and optional description. Active resources show up in availability; inactive ones are hidden without losing their history.
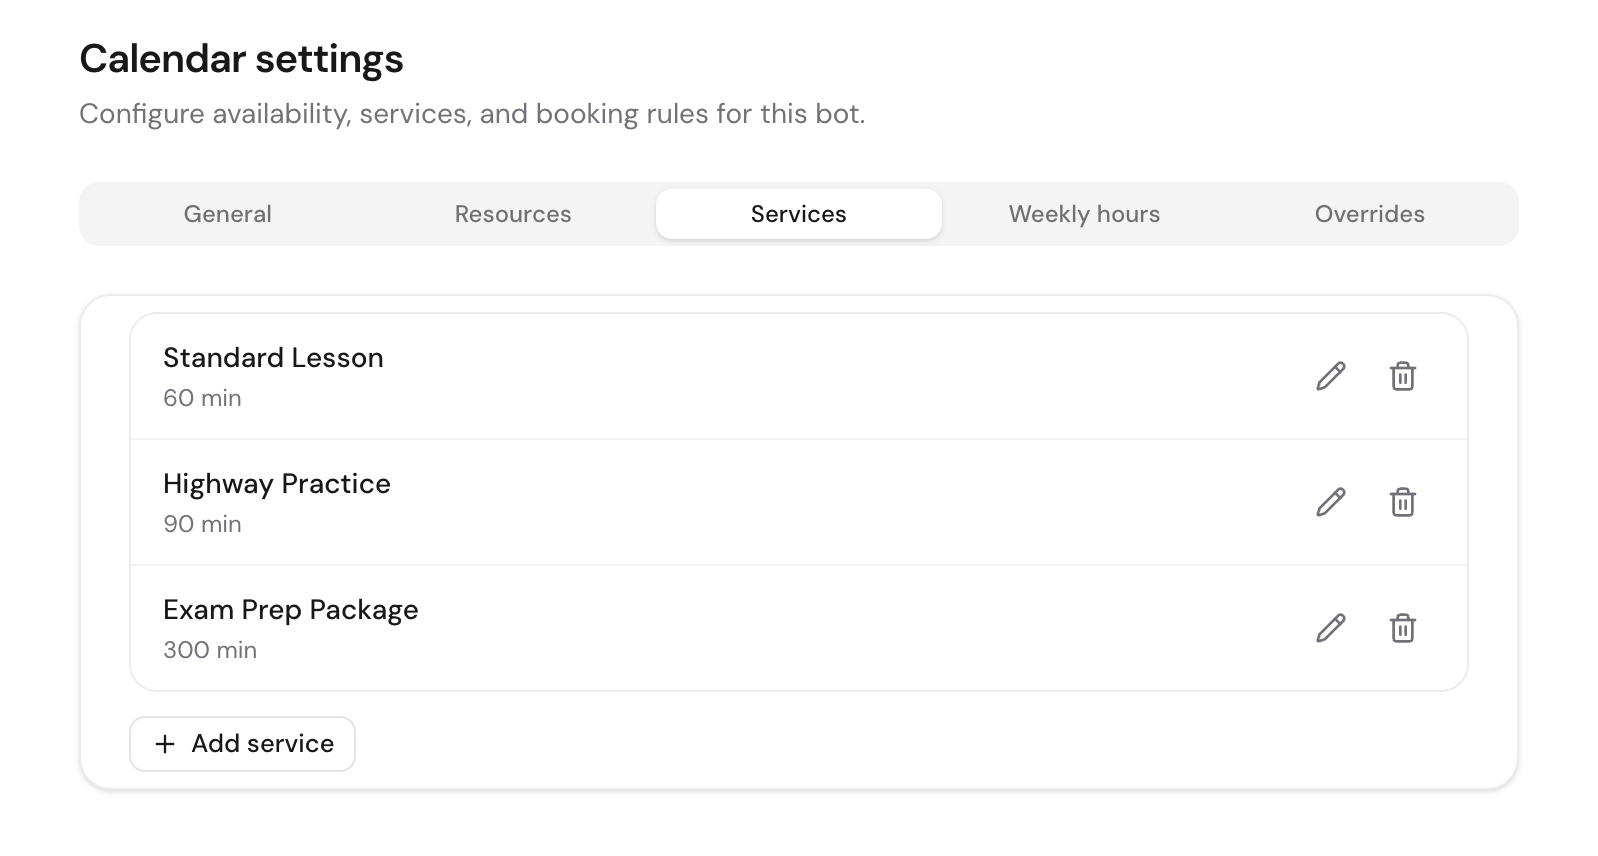
Define each service
On the Services tab, set the service name, duration, and optional buffers before and after. Buffers add prep or cleanup time that no other booking can overlap.
Map services to resources
Inside the service editor, mark which resources can deliver that service. Only mapped resources will appear as options when a customer picks the service.
Use buffers instead of padding the duration
If a 30-minute appointment really needs 10 minutes of cleanup, set duration to 30 and buffer-after to 10. Customers see a 30-minute booking, but the slot stays blocked for 40.
Set weekly opening hours
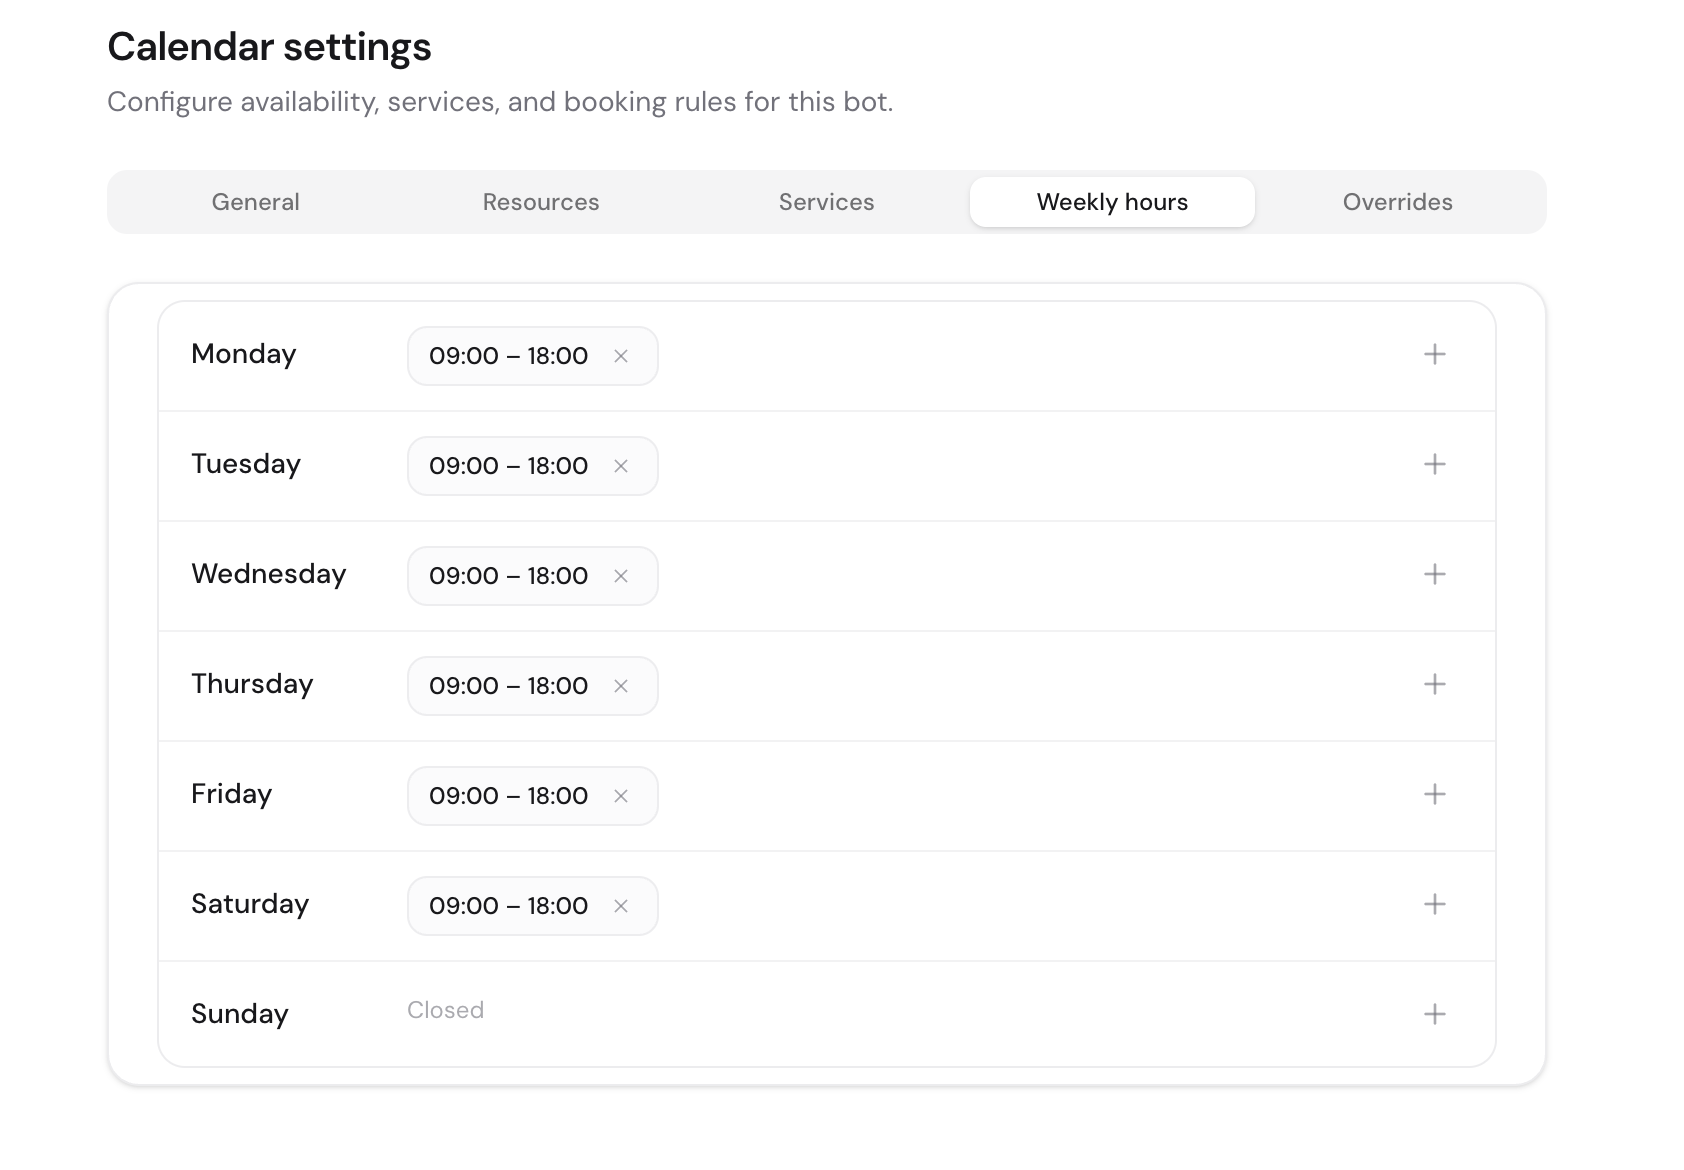
Weekly hours define the recurring windows when each resource is bookable. Open the Weekly hours tab and add one or more time ranges per day.
- Pick a day, a start time, and an end time. You can add several ranges per day if you take a midday break.
- Optionally tie a range to a specific resource — useful when staff have different schedules.
- A range with no resource applies to every resource. Use that for the default schedule and override per-resource only where it differs.
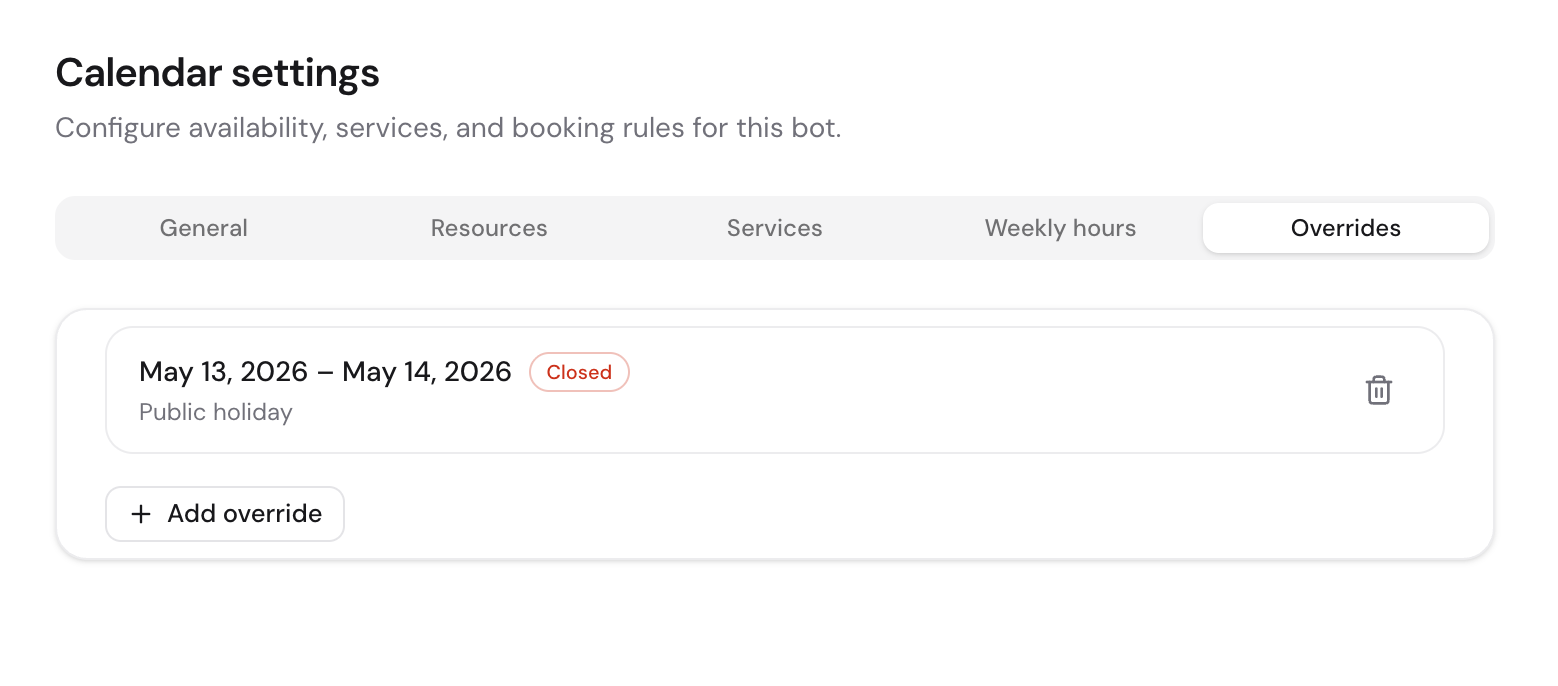
Add date-specific overrides
Overrides change availability on specific dates without touching the weekly schedule. Use them for closures, holidays, half-days, or one-off events.
- Pick a date or date range, then choose Closed to block all bookings or Custom hours to replace the day with a specific window.
- Optionally restrict an override to a single resource — for example, one staff member is on leave while the rest of the team works normally.
- Add a short note (public holiday, team event, sick day) so future-you remembers why the day is unusual.
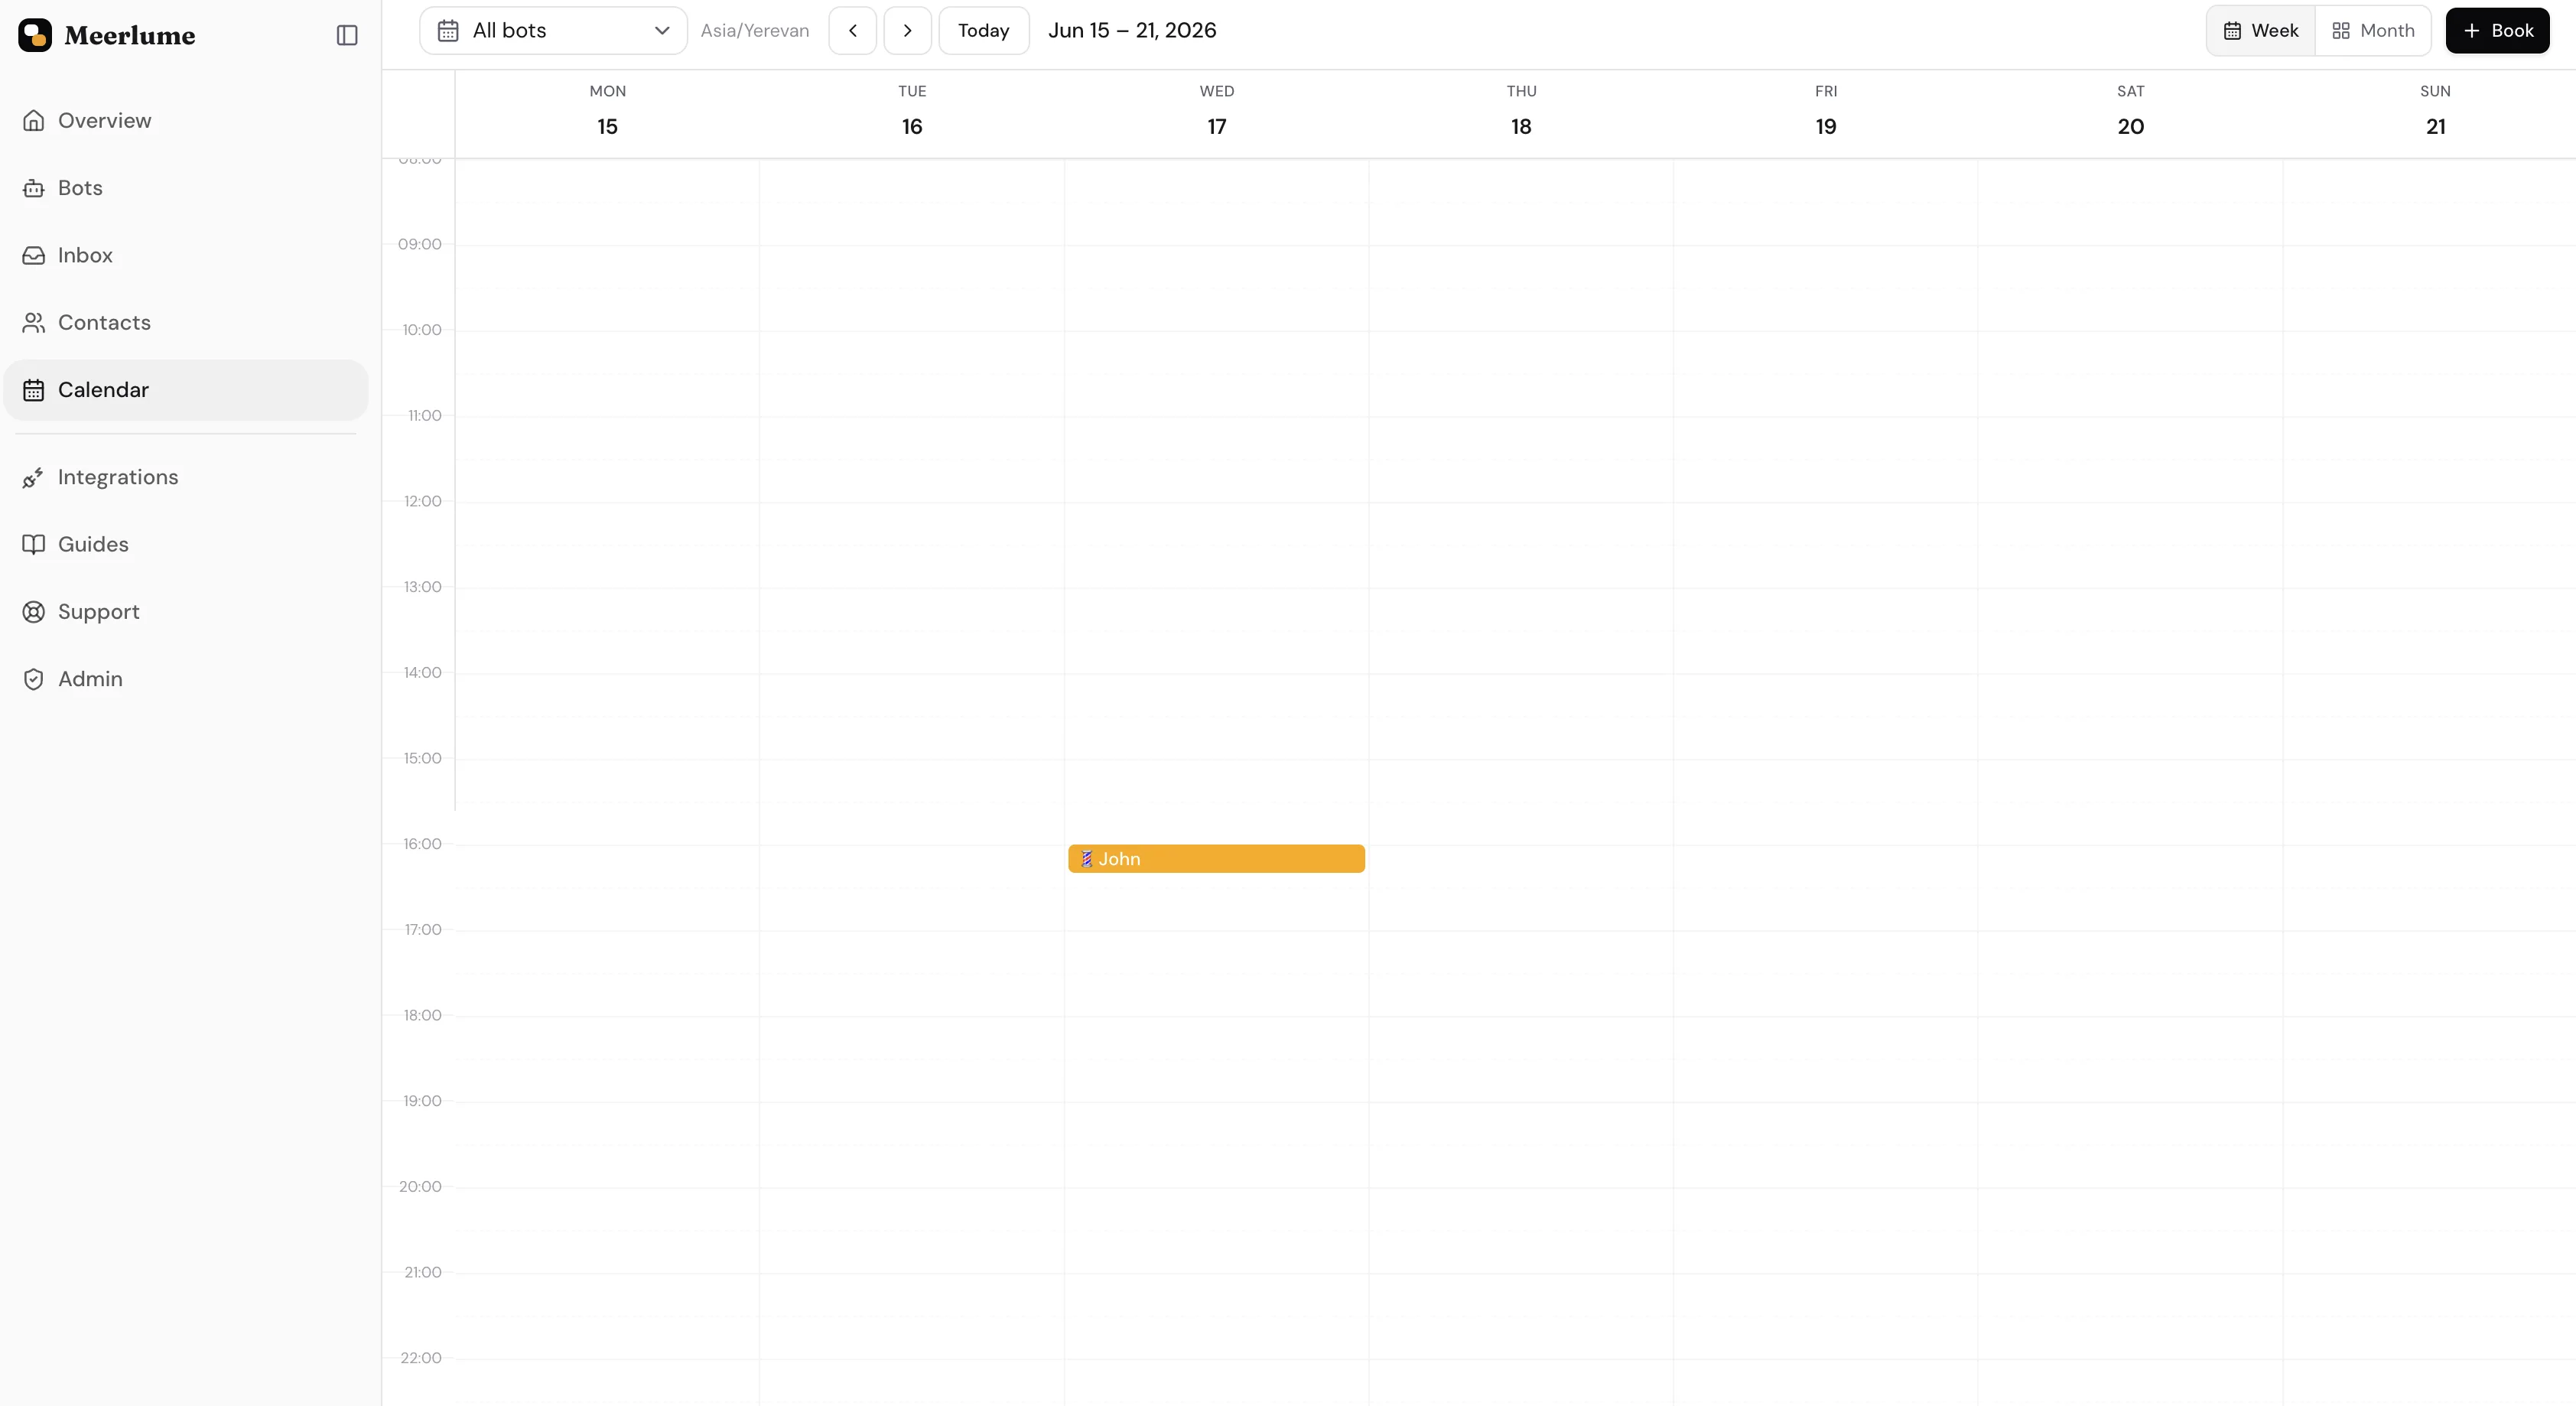
Use the calendar view day to day
The Calendar page shows bookings across all your bots in week or month view. Use it to confirm what is on the schedule, walk in a booking by hand, or block a slot that should not be sold. Only bots with calendar set up appear here.
- Switch between week and month with the toggle in the header. Filter to a single bot when you only want to see its bookings.
- Click an empty slot to open the manual booking dialog with that time pre-filled.
- Click an existing booking to open the side panel. Its status mirrors the inbox, with one-click actions — approve a pending hold, mark it completed, reschedule, or cancel — no Edit step or dropdown. The customer name links to their contact.
- Use Add override from the header to block a date range or set custom hours without leaving the calendar.
Bookings happen in the bot flow
Calendar settings are only useful once your bot has booking nodes in its flow. Generate or edit a flow that asks for service, date, and time so customers can actually reach the booking step.
Related guides
Continue with the next part of the setup once this step is stable.
Add validations and review rules
Make the bot stricter where format matters and define how submissions move through review, updates, and follow-up.
Triage submissions in the inbox
Read what customers sent, change status, reply or take over the chat, approve or reschedule bookings, and archive — keep follow-up moving without getting buried.
Create your first bot
Start from a plain-language description or a template, generate a first draft, and understand what guests can do before signing up.